


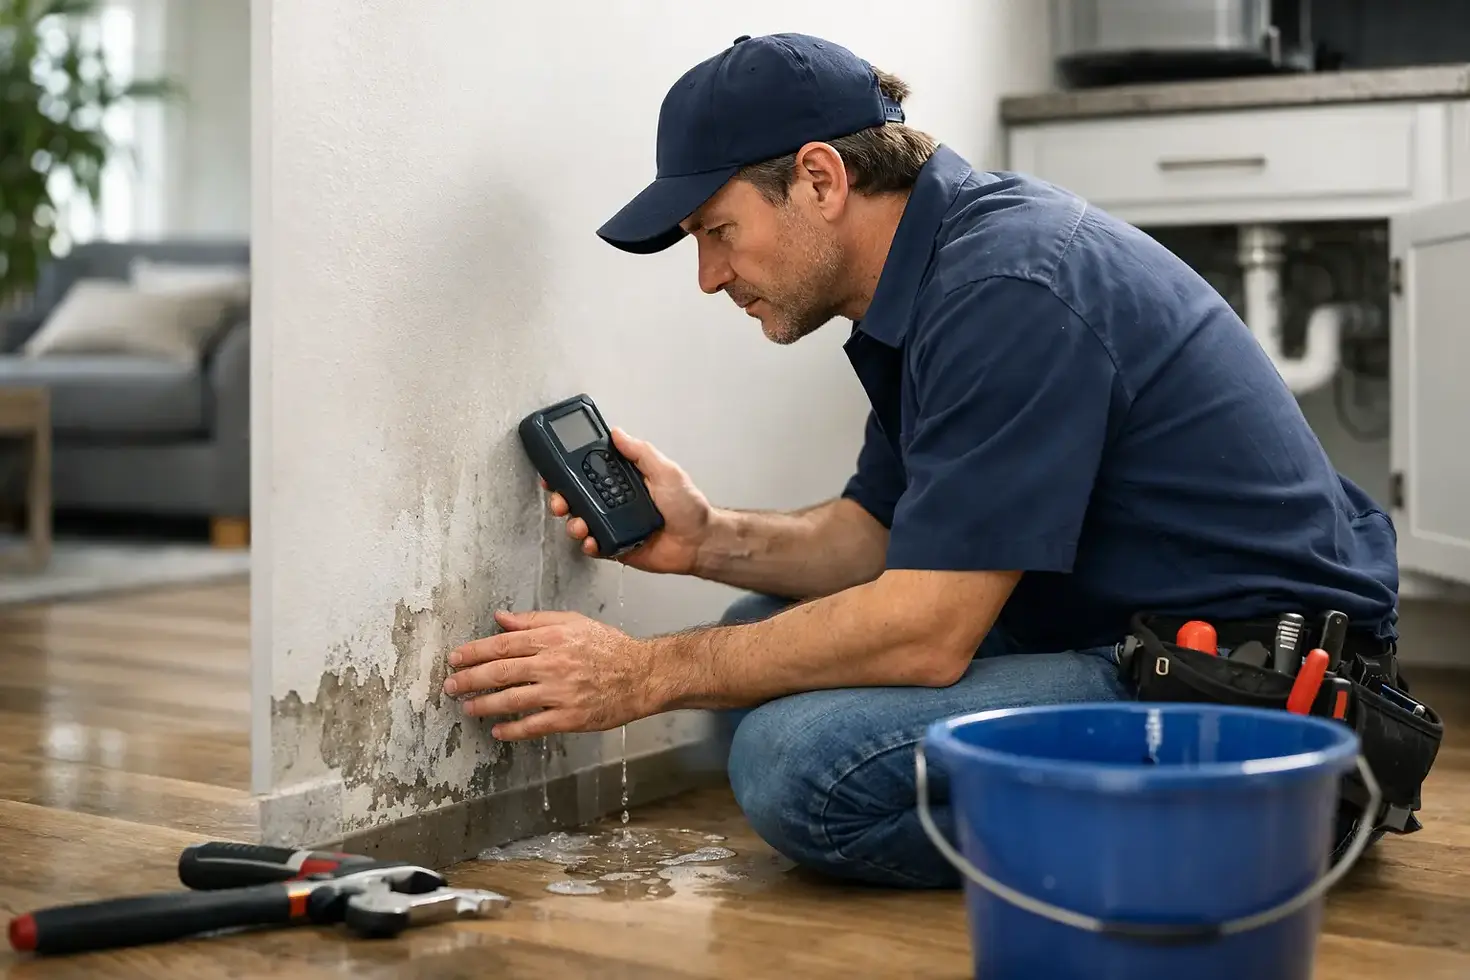
How to Find a Hidden Water Leak in Your Home

A hidden leak rarely announces itself with a burst pipe. More often, it starts with a water bill that has climbed for no clear reason, a patch of paint that will not quite dry, or a boiler pressure gauge that keeps dropping. Knowing how to find a hidden water leak early can prevent damaged plaster, rotten flooring, mould growth and a much larger repair bill.
The key is to work methodically. First rule out the obvious sources, then use your water meter and heating system clues to narrow down where water is escaping. If water is reaching electrics, ceilings are bulging, or the leak is causing active damage, stop investigating and arrange urgent professional help.
Act quickly if water damage is spreading
Before carrying out any checks, look for signs that the leak needs immediate attention. A spreading brown ceiling stain, dripping through a light fitting, a wet floor near electrical sockets, or water running from a wall are all reasons to turn off the water supply at the internal stopcock if it is safe to do so.
The stopcock is commonly located under the kitchen sink, in a utility room, downstairs cloakroom or near where the mains supply enters the property. Turn it clockwise to shut off the incoming cold-water supply. Do not force a seized valve, and do not touch electrical switches or fittings in a wet area.
For flats, rental properties and managed buildings, prompt reporting matters just as much as finding the source. Water can travel through floors and cavity spaces, so the room showing damage may not be directly below the leak.
How to find a hidden water leak using your meter
Your water meter can help establish whether the leak is on the incoming mains supply or within the property. This is one of the most useful checks when there is no obvious dripping tap or visible pipework failure.
First, make sure nothing is using water. Turn off taps, showers, washing machines, dishwashers and any appliance connected to the water supply. Avoid flushing toilets during the test. If possible, take the reading when everyone has left the property or overnight when water use is unlikely.
Record the meter reading, including the smaller digits or moving leak indicator if your meter has one. Wait for 30 to 60 minutes without using any water, then check it again. If the reading has changed, water is being used or lost somewhere after the meter.
This result does not identify the exact location. A running toilet cistern, faulty filling valve or leaking outside tap can move the meter just as readily as a hidden pipe leak. It does, however, confirm that further investigation is worthwhile.
Rule out the common hidden leaks first
Many leaks are concealed in plain sight. Start in rooms with water connections and inspect carefully with a torch. Check beneath sinks, behind pedestal basins, around washing-machine hoses and underneath kitchen units. Run a dry piece of kitchen roll around visible joints, isolation valves and flexible connectors - a tiny amount of moisture is easier to spot this way than by touch alone.
Pay particular attention to these common trouble spots:
Toilet cisterns that run intermittently or continue filling after flushing.
Shower seals, tray edges and bath panels where water may escape only during use.
Dripping overflow pipes outside, often caused by a faulty cistern valve.
Outside taps and underground supply pipes, particularly after freezing weather.
Fridge water dispensers, washing-machine connections and dishwasher hoses.
To test a toilet, add a small amount of food colouring to the cistern and do not flush for around 15 minutes. If colour appears in the bowl, the flush valve is leaking. This can waste a surprising volume of water while making very little noise.
For showers and baths, remember that a dry-looking room does not necessarily mean the seals are sound. Water may get behind cracked silicone or damaged grout only while somebody is showering. Look for loose floor tiles, swollen skirting boards, staining on the ceiling below, peeling paint or a musty smell after use.
Check whether the problem is linked to your heating system
A recurring loss of pressure on a sealed central-heating system can indicate a leak, but it is not always a pipe buried under the floor. The issue could be a radiator valve, a towel rail, a pressure-relief valve discharge pipe, or an internal boiler fault.
Take note of the pressure shown on the boiler when the system is cold, then check it again over a day or two. If it repeatedly falls and you need to top it up, arrange a qualified engineer to investigate. Do not keep repressurising the system as a long-term fix. Repeatedly adding fresh water can encourage internal corrosion and may make a small fault more costly.
Look around radiator valves and beneath the boiler for dampness, but do not remove boiler panels or attempt repairs to gas appliances yourself. A boiler and heating engineer can test the system properly and distinguish between a heating-circuit leak, a failed component and normal changes in pressure as the system heats and cools.
Trace the signs without causing more damage
Once you have ruled out simple fittings, follow the evidence rather than cutting into walls or lifting flooring at random. A hidden leak often leaves a pattern: staining may be darker at its source, flooring may feel warmer over a hot-water pipe leak, and mould may develop where damp air cannot escape.
Listen for a faint hiss or the sound of water moving when all taps are off. Check cupboards that back onto bathrooms, areas around boxed-in pipework, and ceilings below bathrooms, en-suites and tanks. In older properties, pipes may run through solid floors, wall chases or difficult-to-reach voids, which makes visual inspection unreliable.
A professional leak investigation may use moisture readings, thermal imaging, acoustic listening equipment or pressure testing. These methods can narrow down the location with far less disruption than removing large sections of flooring or plaster. The right approach depends on the pipe material, the construction of the building and whether the leak is on mains water, hot water, heating pipework or drainage.
Do not confuse condensation with a hidden leak
Not every damp patch is a plumbing fault. Condensation commonly forms around cold external walls, window reveals and poorly ventilated bathrooms, particularly in winter. It tends to appear as surface moisture, black mould or repeated dampness in the same cold areas.
A plumbing leak is more likely to create localised staining that worsens regardless of ventilation, a persistent musty smell, warped finishes, or unexplained meter movement. Rainwater ingress can also mimic a leak, especially if marks appear after heavy rainfall. A proper inspection should consider all of these possibilities before repairs begin.
When to call a plumber for hidden leak detection
Call for professional help if the water meter continues moving when no water is in use, boiler pressure repeatedly drops, staining is spreading, or you cannot safely access the suspected area. It is also sensible to act early where the property is occupied by tenants, vulnerable residents or business users, as small leaks can quickly become disruptive.
For landlords and letting agents, document the tenant's report, the visible symptoms and any meter readings. Fast attendance helps protect the property and provides a clear record that the issue has been addressed. Waiting for a stain to become a drip is rarely a cost-saving decision.
PlumbTech365 investigates plumbing and heating leaks across Dartford, Kent, Essex and South East London, with clear advice on the cause, the required repair and the next steps. Where urgent damage is occurring, a rapid response can limit the impact before it reaches ceilings, electrics or neighbouring properties.
A hidden leak is easier to deal with when you respond to the first clue rather than the final damage. Check the meter, rule out the everyday faults and arrange an inspection when the signs do not add up.


Comments